***Yay an actual post! Let's see if it's less than five years before the second one.***
The theme of the
Foundations Revealed competition this year was ‘Once Upon A Time’ and it was focused on garments or outfits for characters in literature. I chose to make Nancy Blackett’s outfit from Arthur Ransome’s
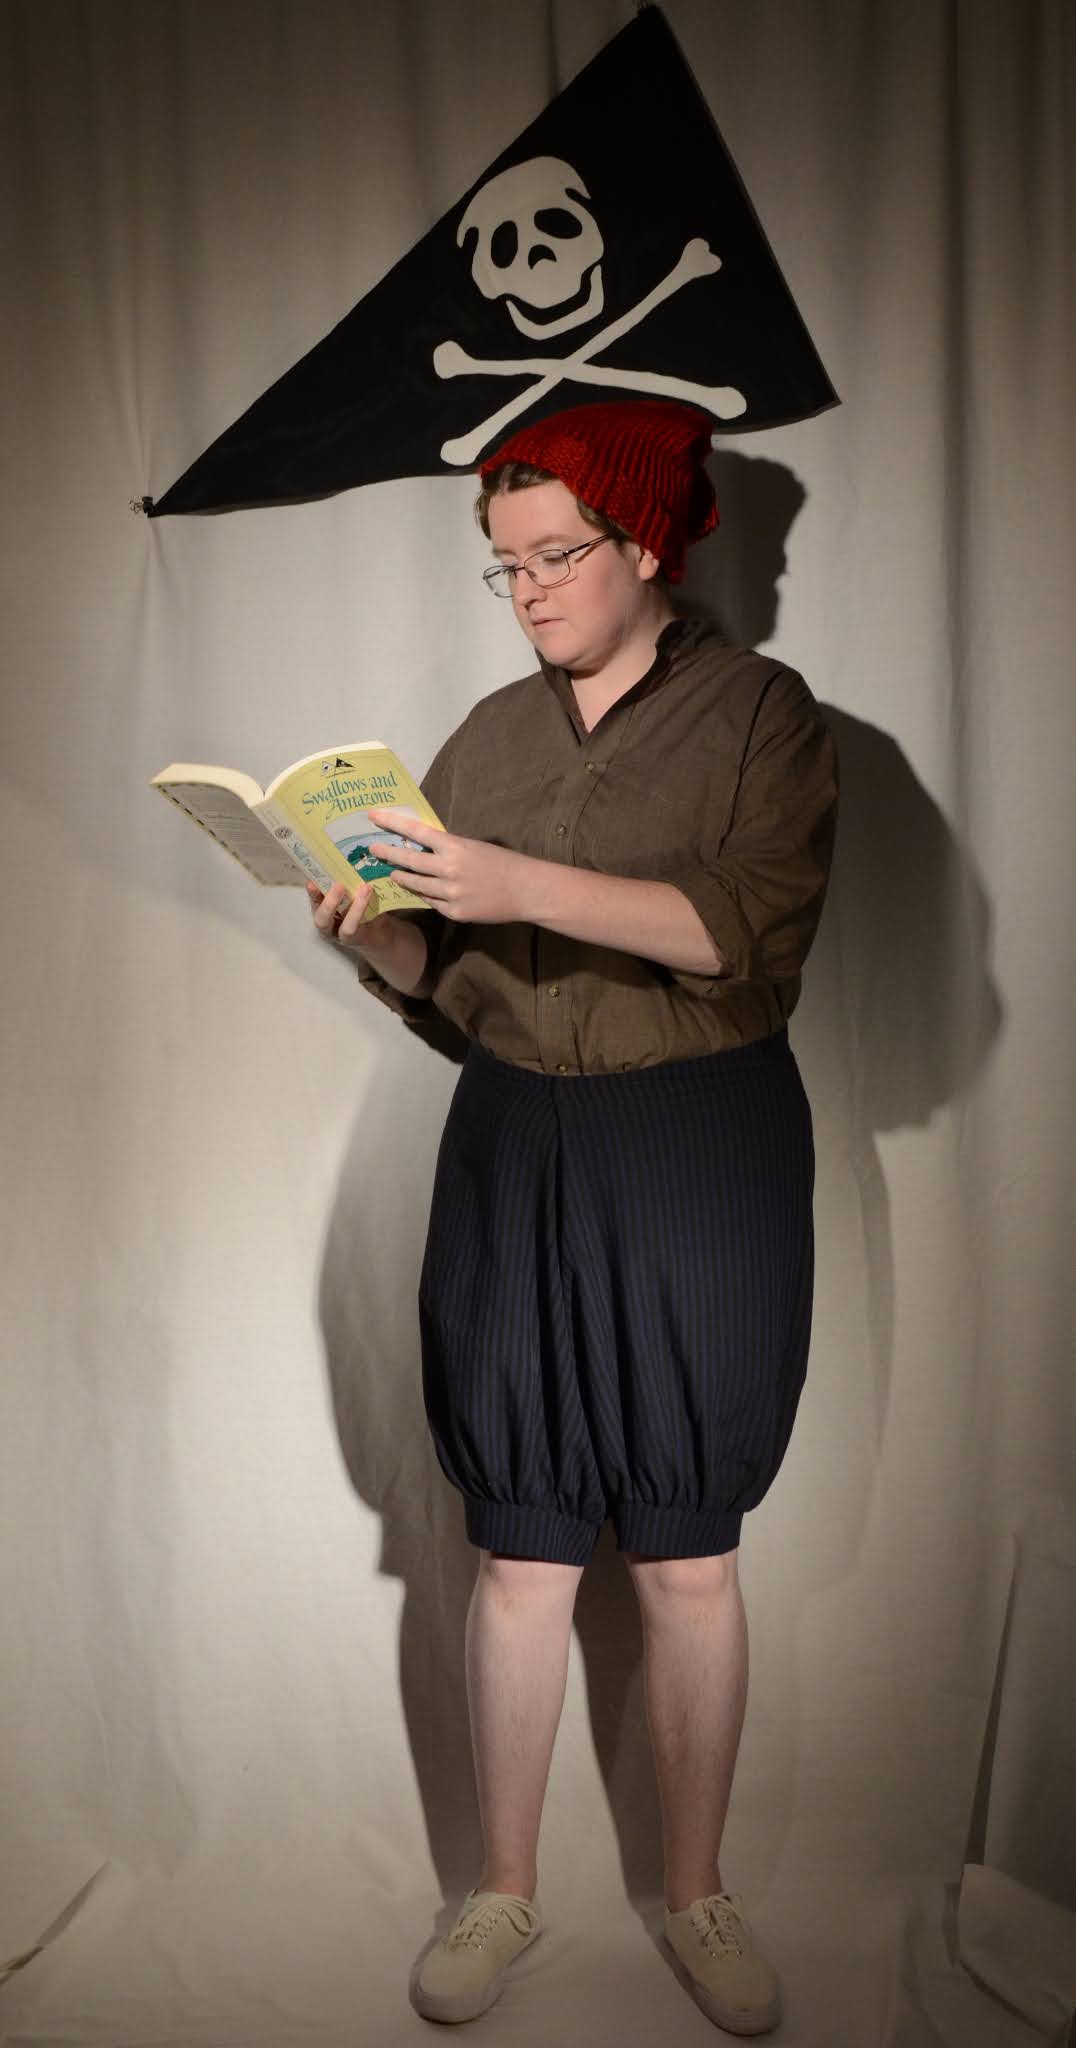
Swallows and Amazons series. In the first book, Nancy is twelve or fourteen years old in 1929 when a new family, the Swallows, shows up at the lake for the summer holidays. Since she is the self-proclaimed leader of the Amazon Pirates, consisting of herself and her sister, she sets out to make friendly war with the Swallows over the Amazons’ island in the middle of the lake, which the Swallows have set up camp on. She is fierce and fearless and an impressive sailor. She loves challenges and excitement and tends to borrow trouble for the fun of it.
Despite her being involved in almost every event, Ransome gave only a brief description of Nancy’s (and her sister Peggy’s) appearance: “both had red knitted caps, brown shirts, blue knickerbockers, and no stockings” (
Swallows and Amazons, page 85).
 |
| Swallowdale, 175 |
Using Ransome’s black and white line drawing illustrations from the first two books,
Swallows and Amazons and
Swallowdale, which are set in 1929 and 1930 or 1931 respectively, I figured out that the caps are stocking caps with tassels (not pom-poms!) and that her shoes are some kind of sand/boat shoe. The 1974 movie used pom-poms and those caps just don’t look the same as the illustrations. The illustrations also give the length of the shirt-sleeves and knickerbockers. They don’t show whether the shirt buttons down the front or not, if there’s extra fabric in the knickerbockers, or what color the shoes are. To fill in some of these details, I looked at adverts for knickerbockers from the mid-twenties, since play clothes for the summer holidays aren’t likely to be the height of fashion. I have yet to find any adverts for girls’ knickerbockers, so I aimed instead for something in between knickerbockers and the trouser part of girls’ gymnasium suits, which were commonplace in the twenties. For the shoes I just searched on the history of sand/boat shoes, which told me they were basic canvas sneakers/plimsolls and most likely off white, especially after a few days at the lake. The shirt also came from a Google search. None of the girls’ shirts I turned up really looked like the ones in the illustrations, so I turned to boys’ shirts instead, which looked like modern button-downs. After looking at my outfit in pictures I think Nancy’s shirt is more of a sailor style pullover than a slightly unbuttoned button-down, so I may make a replacement at some point.
 |
| Me as a too bookish version of Nancy. |
Onto my version of Nancy’s outfit. In order of complexity, I bought the shoes at a thrift store and did nothing to them. Somehow they fit perfectly and are comfy enough that they will be my boat shoes for the next few summers. The shirt was from the same store and I removed its collar and resewed the topstitching where it was on my workhorse 1958 Singer 401A. Its name is ‘The Beast’ because it has sewn everything I’ve thrown at it basically perfectly. I wanted to make a shirt as well, and even found a pattern from
Merchant & Mills, but I didn’t have enough brown fabric in a vintage-y print in my stash, and I didn’t have near enough time.
 |
| My flag |
 |
| Swallows and Amazons, 351 |
The flag was as near as I could make it to the flag in the books. It’s black acrylic paint on white canvas with the end hemmed, also on The Beast. I did hem it before painting. The Beast would have sewn through the paint just fine, but I didn’t want bits of paint ending up in it. I decided to paint the flag instead of sewing it because in both
Swallows and Amazons and
Picts and Martyrs, Nancy paints a skull and cross bones, above the boat house and as a wall hanging, respectively. Properly I should have used oil paint, since that’s what she used, but I didn’t want to paint outside and my windows had already frozen shut for the winter, so I didn’t have enough ventilation. I split the difference between the sizes of flag recommended for a boat of
Amazon’s size and for the much smaller size of my boat,
Sunbeam, which my parents helped me build at a workshop two summers ago. It’s meant to have a flagstaff, but as
Sunbeam doesn’t have a mast yet, and I ran out of time, it doesn’t have one yet. (Yes,
Sunbeam is sitting in about 6 inches of snow. I wasn’t going out on a lake in February, even though it got up to 30F.)
 |
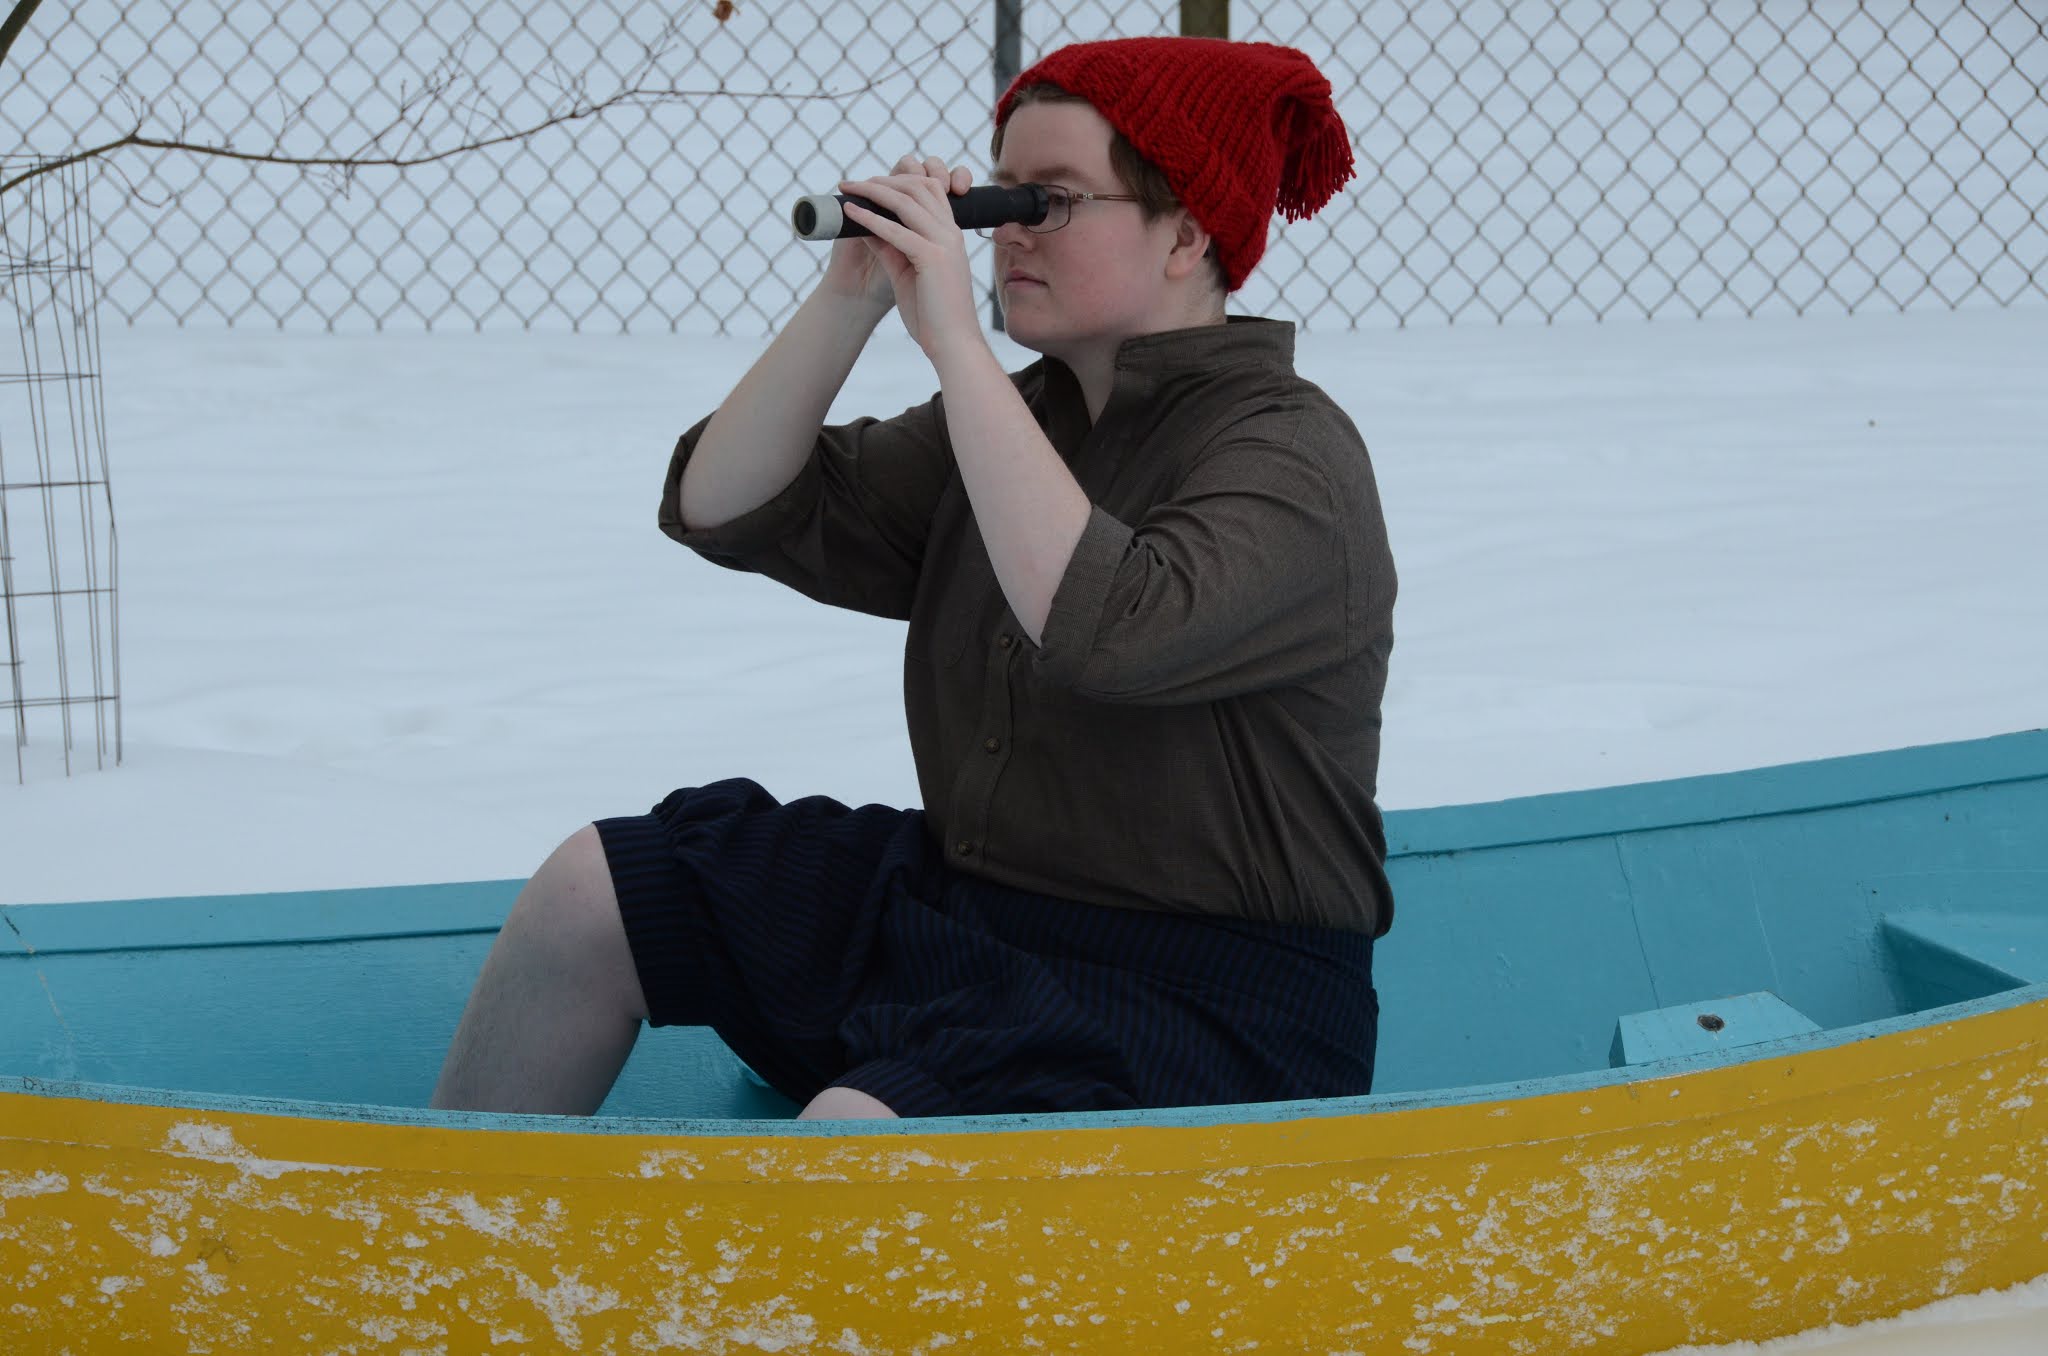
| My little telescope was part of Dad's first big telescope. |
The stocking cap was my first knitting project from a pattern. I had to adapt the pattern for my larger yarn and for a round knitting loom instead of needles. I learned how to do purl stitches and decreases and to make a tassel, mostly from a loom knitting book that came with one of Dad’s looms. The pattern was originally a historically inspired Voyageurs' Cap from
String-Or-Nothing. I used square knots for all the stitching, which is particularly invisible because I only had just enough chunky red yarn for the cap and had to use a smaller red yarn for the stitching and the tassel. Honestly I don’t think I’d have liked the chunky yarn as a tassel near as well. Square knots are the only knot I always remember how to do. And, since I know the knots will hold, I just trimmed the ends instead of weaving them all in. The tassel ends I left long in case I ever decide to take it off.
 |
| The button prevents the tassel pulling through. |
The trousers were the most complicated by far. Originally I bought a knickerbocker pattern from
Reconstructing History, but the instructions just didn’t make any kind of sense to me, so after four attempts at the first sewing step of just putting a pocket in (which I know how to do!), I gave up on it. For take two, I started with the drafting instructions for drawers in
School Sewing Based on Home Problems (on
archive.org) from 1916, since the book gives instructions for turning this draft into the bottom of a gymnasium suit. I then ignored about half of those instructions. (I know 1916 is not the mid-twenties, but it was available and close enough.) It took two tries to get a workable pattern, since strictly following the drafting instructions gave me a knee-height crotch seam. The second draft I just measured down from my waist to where the crotch seam and inseam intersect on my jeans and used that to locate the crotch seam on the pattern. I’ve never drafted a pattern from instructions before, but it really wasn’t that bad, maybe because I’ve hand-drawn too many shop drawings in various theatre classes.
Continuing the theme of putting learned theory and past experience into practice in new ways, I learned how to fell seams and do a spaced backstitch for the trousers, or rather I tried to put into practice these stitches from memories of watching Bernadette Banner’s
YouTube videos that include them. At the time it didn’t occur to me to rewatch those videos, so I don’t know that I’m doing either stitch ‘correctly’, but the seams are all solid, so it’s good enough.
I realized quickly that if I was going to finish a seam, I had to do it before going to the next seam, or I wouldn’t be able to. So, after sewing the inner leg seams and topstitching them on my 1925 Singer 99-13, I sewed the crotch seam and realized that, because of my decision to use the 99, I wouldn’t be able to topstitch the crotch seam with any degree of precision. See, I wanted to use the 99, because mid-twenties machine and mid-twenties project, but it has an enduring and intermittent thread tension problem. I’ve tried all the normal fixes, besides replacing the tension disc assembly, but the needle tension is still weird. When I pull on the needle and bobbin threads together, the needle thread has obviously more tension, but then when I sew, it intermittently makes loops of needle thread, as if the bobbin thread has more tension. Anyway, my fix is to rest my hand on the spool as I sew, which leaves me with one hand to do all the fabric arranging. I also only have one table in my room, which has my 401A in it, so I ran the 99 on my sewing stool while sitting on the floor, which made it even harder to keep the stitch line under the needle because the machine was at face height. I don't have a picture of this chaotic arrangement, but whenever I do a post about my machines I'll recreate it. All this to say, I decided to try felling down the crotch seam, and liked it enough, even as a first attempt, that I did all the rest of the seam finishing with felled seams. I’ll probably go back and fell the inner leg seams at some point, just so they match the rest.
 |
| A bit too visible I think, though this is the inside. |
Anyway, next I assembled a waistband, and decided to understitch the lining side. I’ve never bothered before, but it’s totally worth it! Every waistband from now on is getting understitched. Like the rest of the seams, the waistband was constructed with the 99 and then felled down on the inside and the ends. I didn’t take pictures of anything until after it was done, besides the pleating, which is next, and is where I basically abandoned the sewing instructions that came with the drafting instructions.
 |
| The waistband turned perfectly without ironing! |
So, the sewing instructions said to stick elastic in the leg hems and call it good, but my fabric was barely long enough for normal narrow hems. Instead I added cuffs, which are the same width as the waistband, which I think is too wide, I like it though. I also hate doing gathers, so I did pleats instead. I like to think I’m good at eyeballing even pleats.
 |
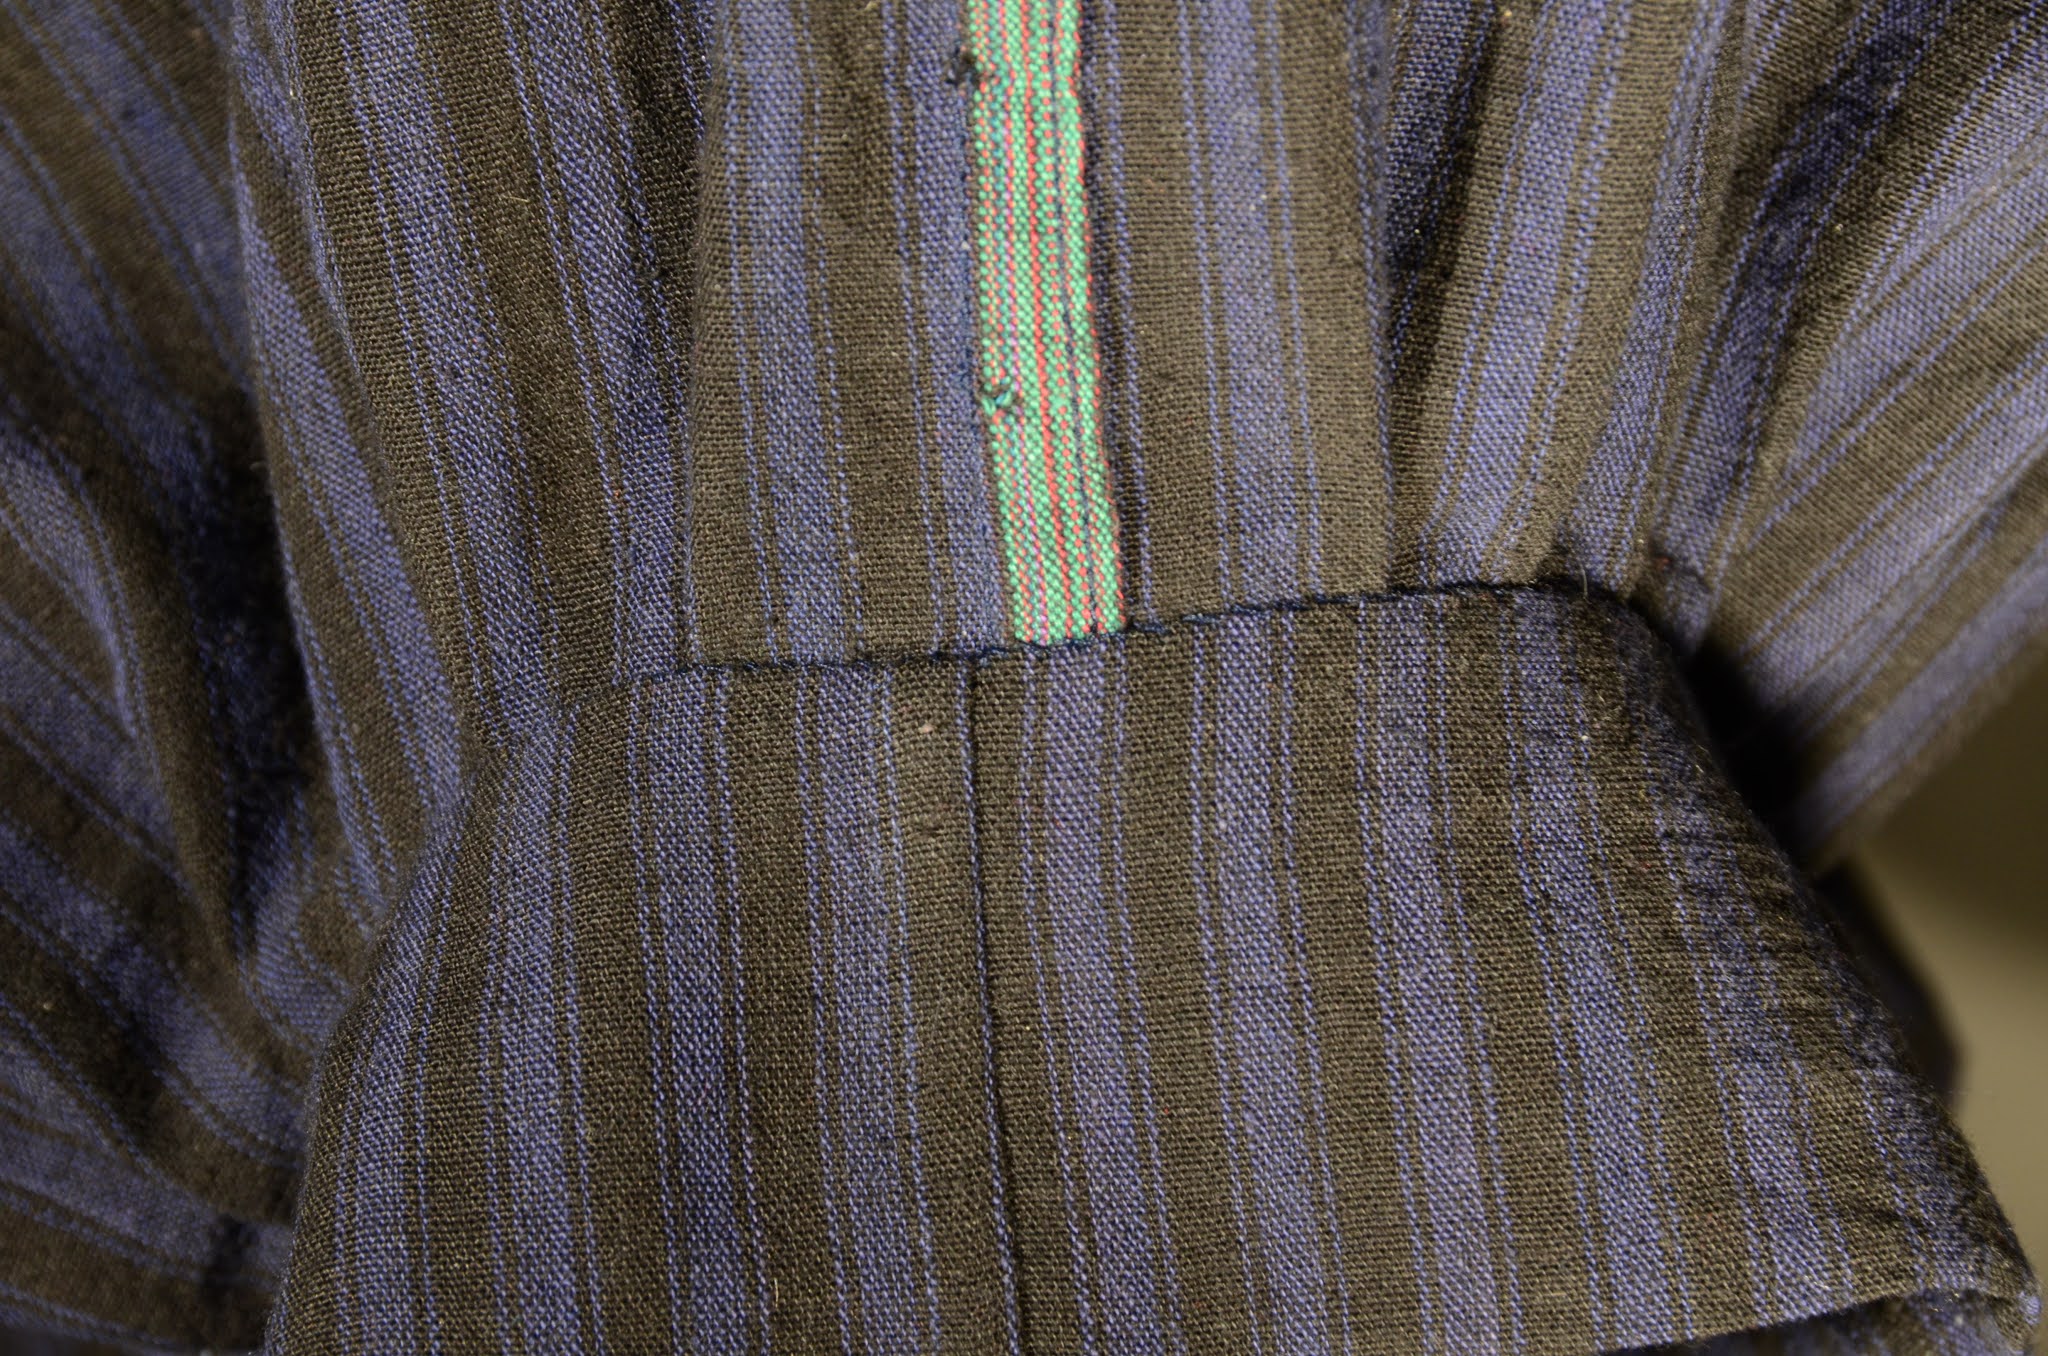
| There is a sewing line in there somewhere. By the way, this is what the fabric actually looks like. It doesn't photograph well. |
Of course, faffing around with machine stitching pleats that go two different directions one-handed is not my idea of fun, so I attempted spaced backstitch, which, even without practice, is strong enough that the seams have held so far. My stitches aren’t terribly even yet, but since it just needed to be strong and the cuff was felled over it, that’s alright. The cuffs themselves were assembled with the 99 and some felling. The other thing that I did to the legs was I cut them off level front and back. The pattern had that traditional diagonal hem on the legs, but I couldn’t see how that would work with my cuffs so I leveled the legs. Comparing my pictures to the knickerbocker adverts, I should have left them longer so that the pleats hang over the cuffs. I don’t think I actually had enough length in the legs to do that though. My fabric was quite short for this pattern.
 |
| The only seam here that isn't felled is the inner leg seam - the green selvedge. I think my felling is alright now. |
I initially forgot to plan for a closure and then I couldn’t figure out how to do a fly, and didn’t have time to search for instructions and learn it. Instead I opened the front seam a few inches and felled the edges, and put two hooks and bars on the waistband. If I make this pattern again, I want to learn how to do a proper button fly, which is what these trousers should have had.
Citations for the quote and illustrations above:
Ransome, Arthur.
Swallowdale. 1931. 3rd ed., 5th reprint, Godine, 1999.
Ransome, Arthur.
Swallows and Amazons. 1930. 4th ed., 13th reprint, Godine, 2003.